17th Servers How-To Guide
Section A: The Panel
PART I. Login
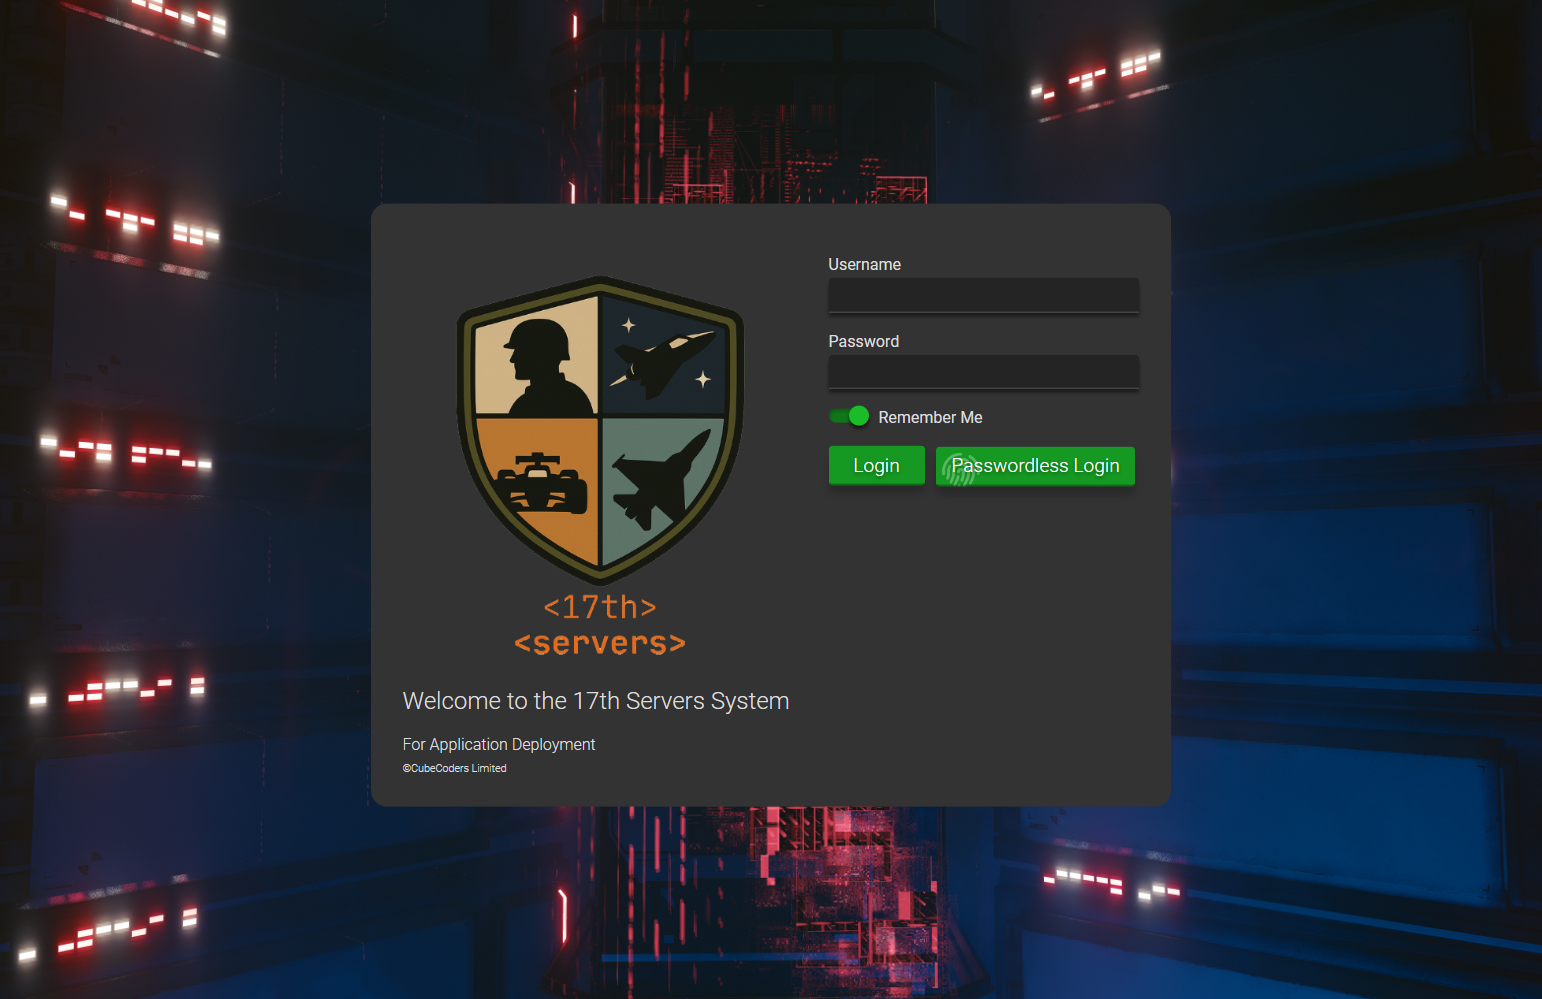
Log in to the panel at https://17thpathfinders.org using the username and temporary password assigned by Bones or Wolfen. If you do not yet have a login and believe you should, please reach out to either of those two admins.
Upon first login, you will be prompted to change your password. Please remember your chosen password as it is time-wasting for us to reset it manually for you.
PART II-a. Main Menu
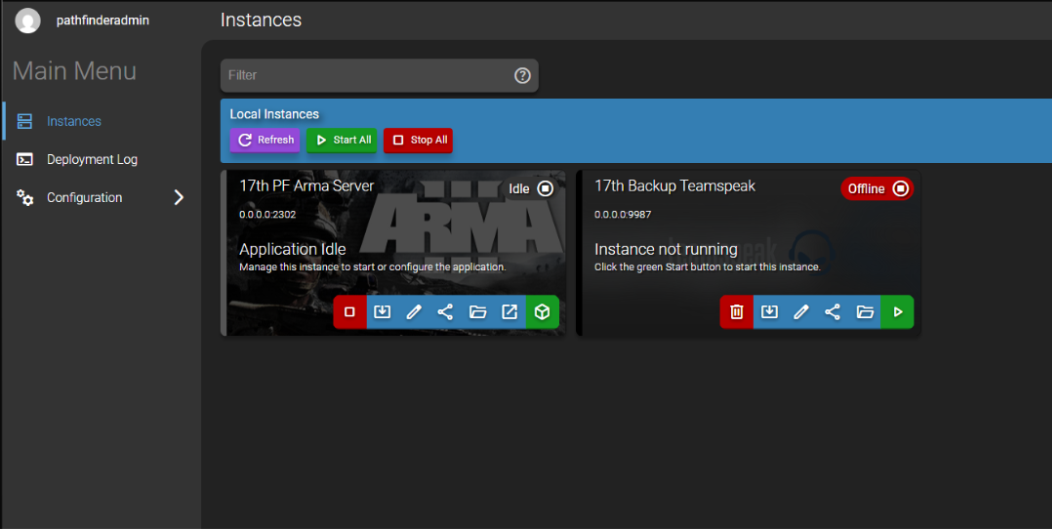
Depending on level of access (and need for additional servers), you will see an assortment of 'instances' on the Main Menu. The only buttons you need to worry about are the green and red ones. Green to start the container that runs the server and red to stop them. Do not delete the instance under any circumstance. You generally do not need to stop any instance in this menu either.
PART II-b. Updating your user account
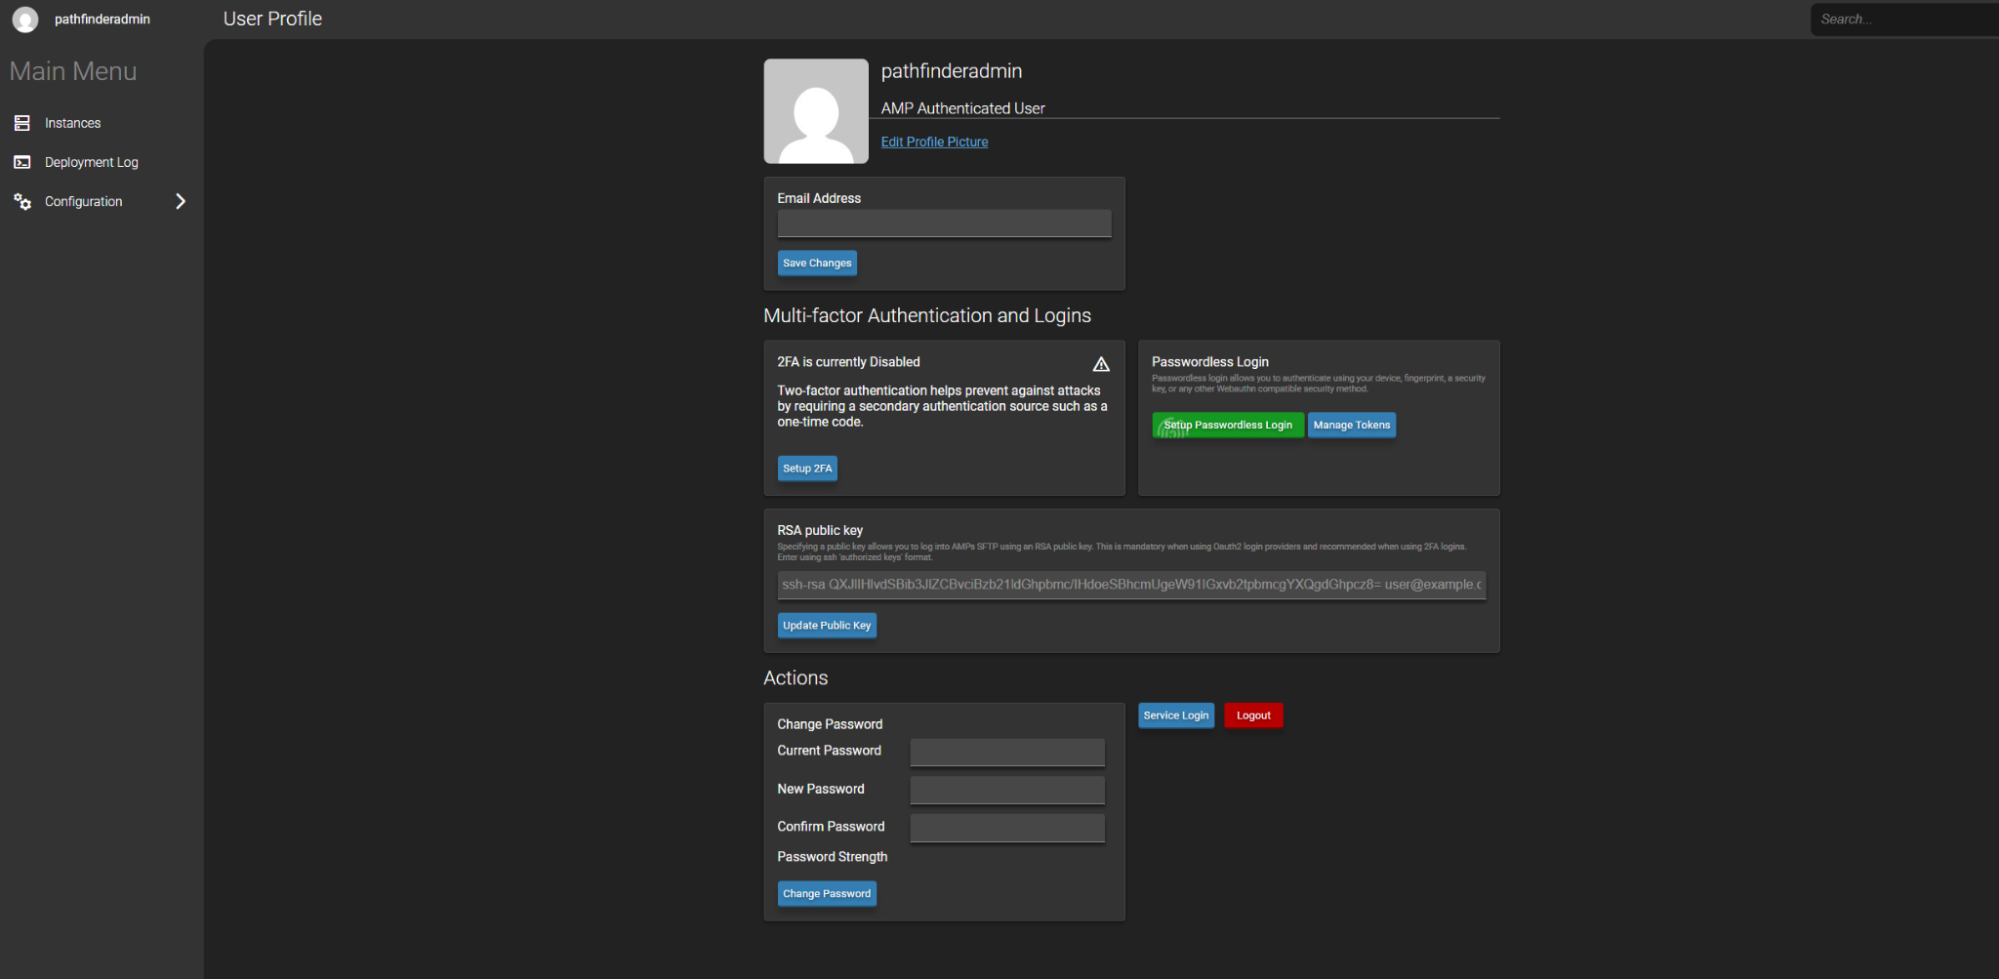
You can click on your username in the top left corner of the screen to update your details, set an avatar, change your password etc. Your username cannot be changed and if you forget your password a high-level admin such as Wolfen or Bones will need to generate a new temporary password for you.
PART III. Setting up Arma
Double click on the instance card or just click the green cube  to load into the server panel.
Once in you will see a screen like below:
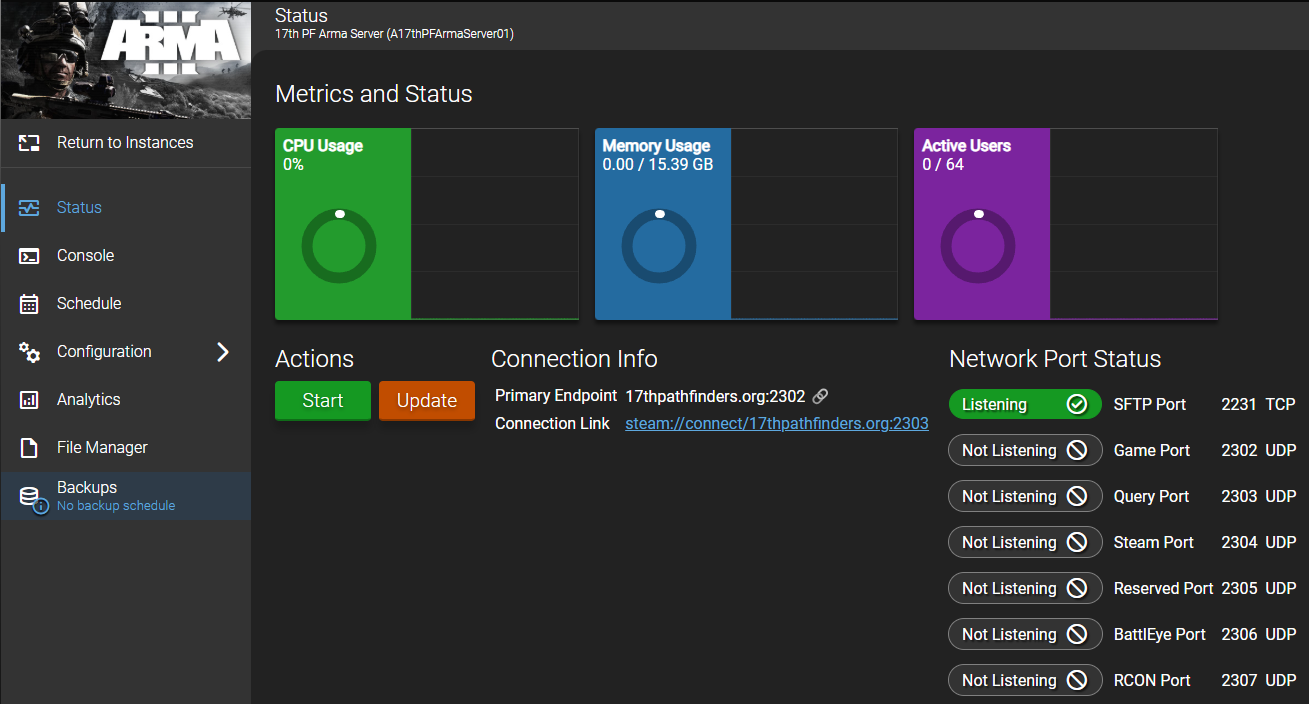
It's always a good idea to update the server before doing any set up for a mission. Simply click the Update button, or from the console click the  button.
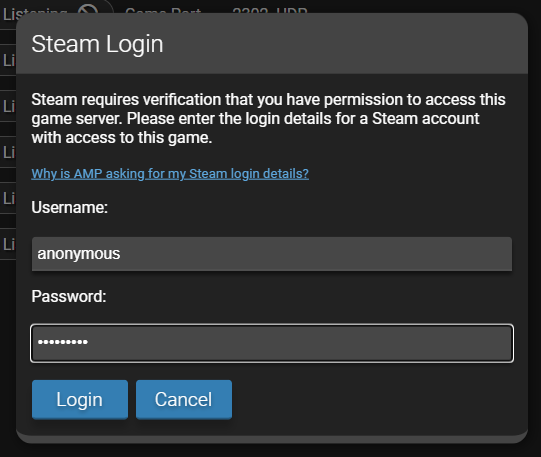
Sometimes you will be asked to login to steam. This is in order to connect to SteamCMD to download mods. You can login using the shared credentials of our burner account. DM Bones for the credentials to use, do not use the anonymous example below!
The notification pop-up on the bottom right corner will show you the status of the update tasks. You can also check in the console to see what the server is doing.
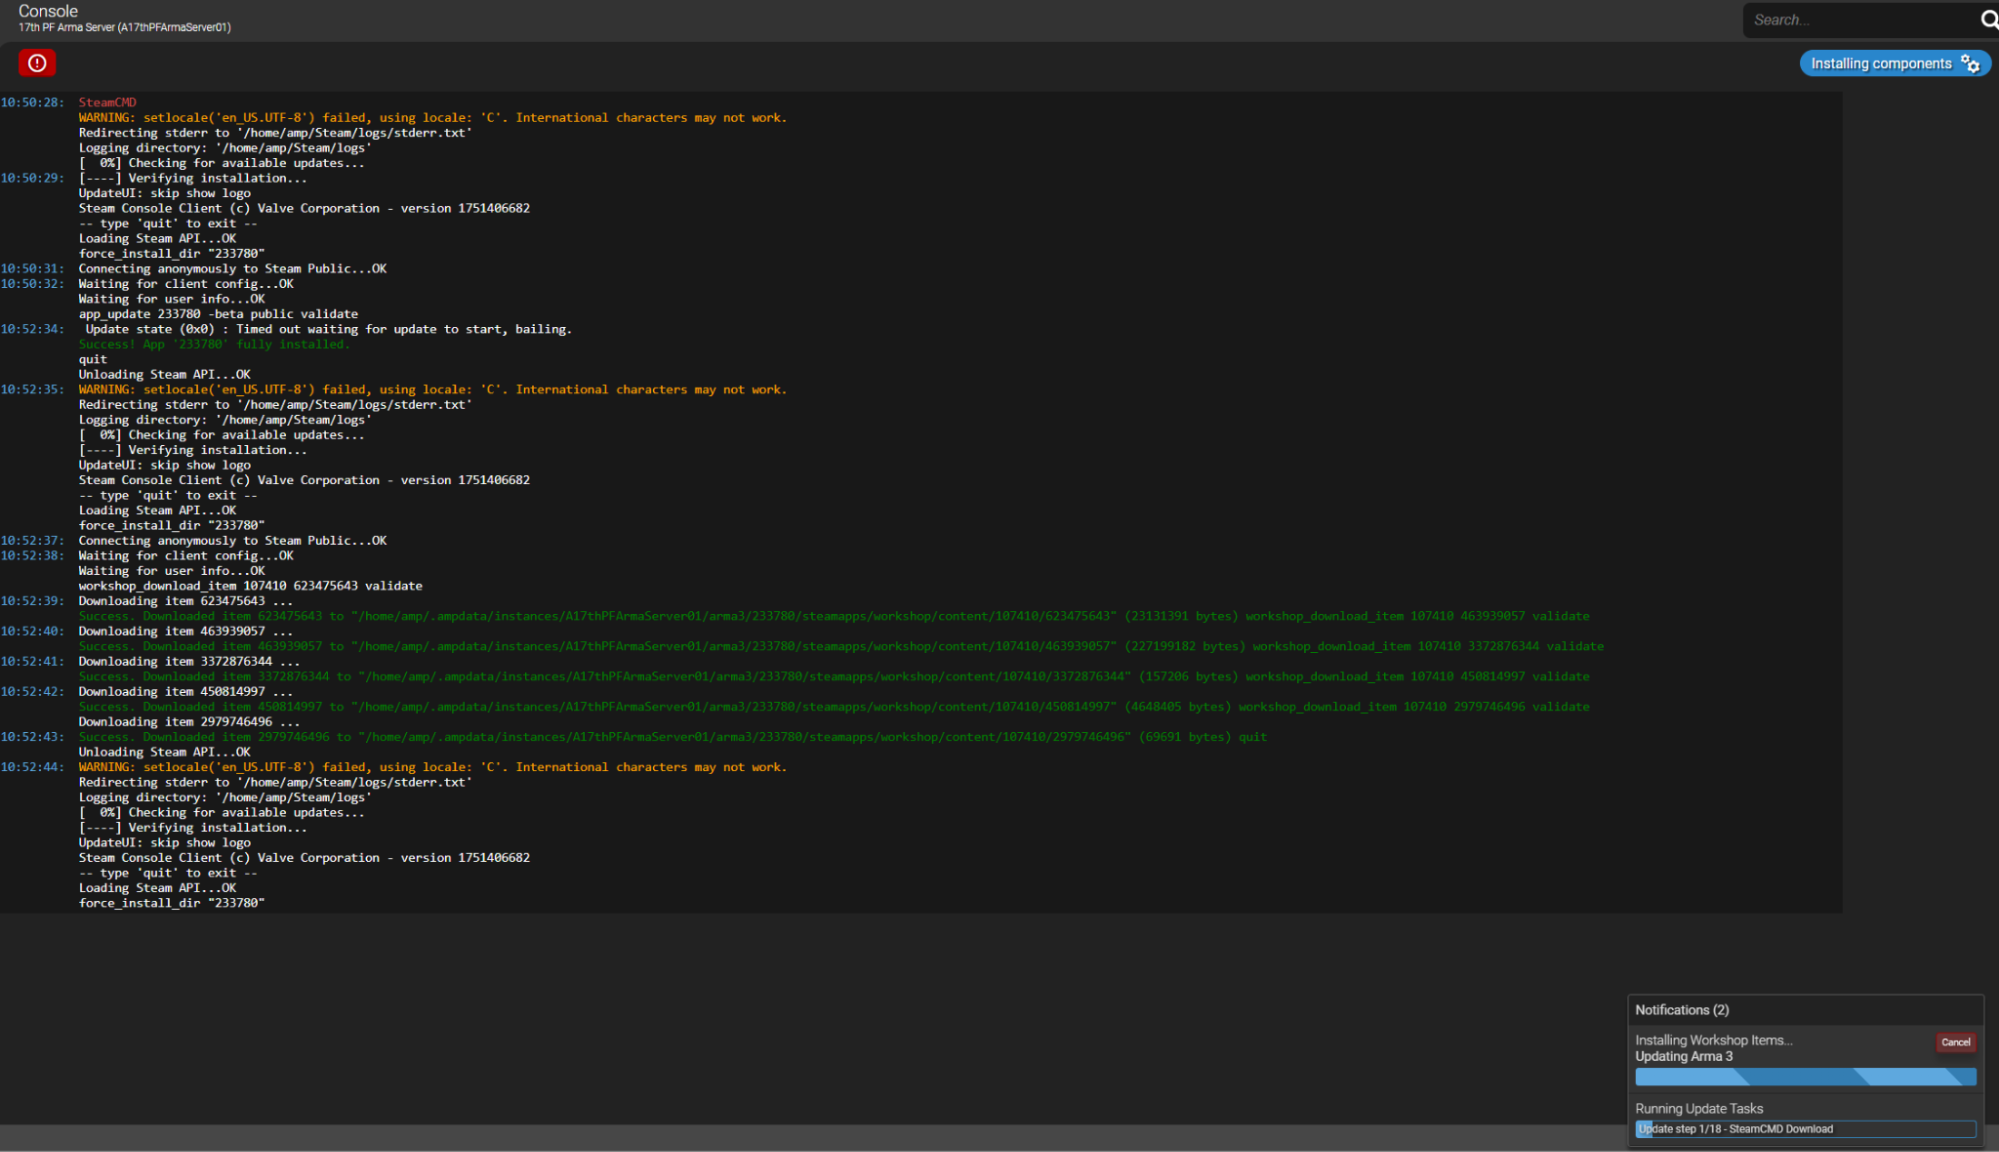
The final console log you will see once everything is done is 'Converting and linking mods`. This means the update process was successful.
Next up we will upload/select the correct mission and modset.
Section B: Starting Arma
PART IV: mpmissions
By navigating to the File manager on your side-bar, you will see all of the files present within the Arma instance. You should never need to worry about any other folders/files in the main directory except for mpmissions and AMP_server.cfg
Navigate to the mpmissions folder and place your packed .pbo in that directory. This is as simple as dragging and dropping from your PC into an empty space on the screen. Note that best practice for naming is to use an underscore (_) in place of spaces in names. There is a separate folder within mpmissions that allows us to place previous working versions of missions in as a form of backup. WE generally prefix a backup version of the mission with z (i.e. zOperation_Higher_Road3.pollo2.pbo)
After placing your mission in the mpmissions folder, copy the name of the entire mission file and navigate back to the root directory. This is most easily done by clicking the slash symbol at the top of the file manager window.
Part V: Server Config
Next we are going to locate a file called xxx and double click it. It is important that you only change one thing in this file - the mission being loaded!
Simply scroll down to the section that looks similar to below (albeit likely to have a different name) and paste in your mission name without the .pbo extension
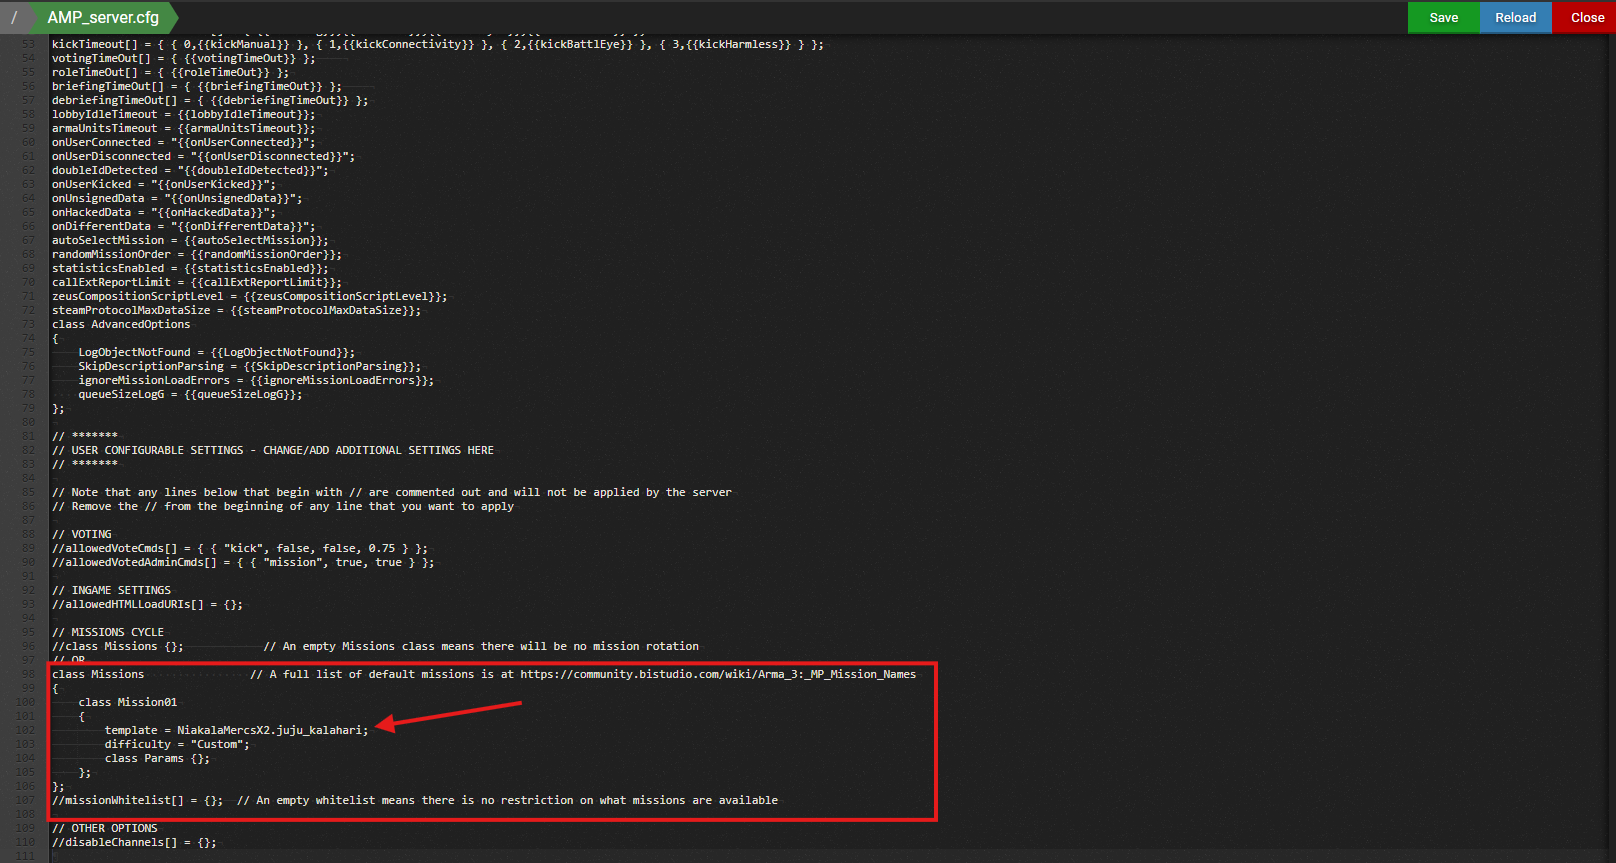
Once pasted in, simply save and then close the cfg file.
PART VI: Mods & Headless Clients
Navigate to  →
→ 
In the first menu you will see a bunch of option panels as below. Open the Mission States & Core Information spreadsheet, go to the Commandline Builder tab, select the correct core from the dropdown list and then copy those mods into the Load Mods option in the server panel.
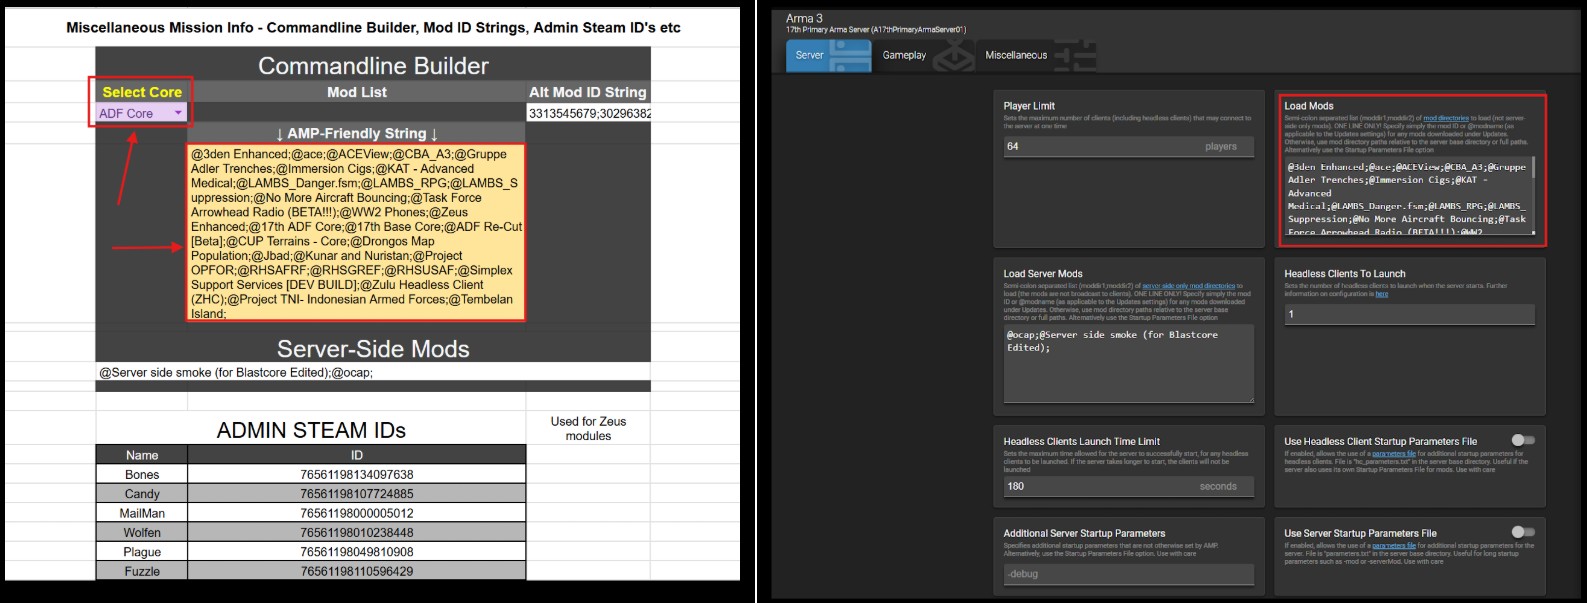
Choose your amount of Headeless Clients to launch (generally 1, only sometimes 2, and can be seen on the Current Mission Info tab on the spreadsheet) in this tab too. Load Server Mods always stays the same.
Now you can start the server by either using the  button on the console page or by hitting Start on the Status page. The Console will not output any useful information to tell you about the server status, errors etc. If the mission is failing to load and/or crashing, an Admin will need to remote into the server's desktop and open the logs.
Good luck, Pathfinder!
17th Servers How-To Guide